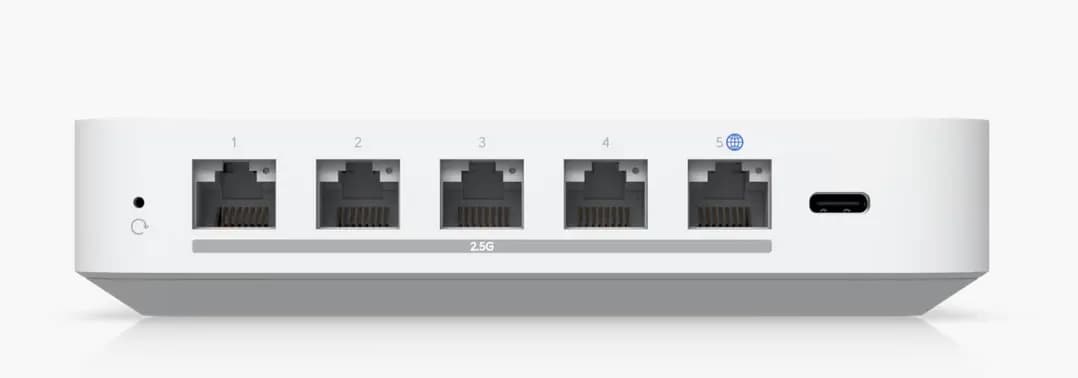
 src: ui.com
So you bought yourself a new UniFi Gateway Max/Ultra? Amazing…Me too! In this guide I’ll detail the steps to perform a 1-to-1 replacement of our existing USG-3’s that has served us well for so many years. Oh and that Rasperry Pi serving as your Unifi Controller? You won’t be needing that any more either :)
Table of Contents
Open Table of Contents
Take a Backup of your current Controller Config
- Log into your current controller’s web interface (Mine’s running on a Raspberry Pi) and download a back up to your local computer
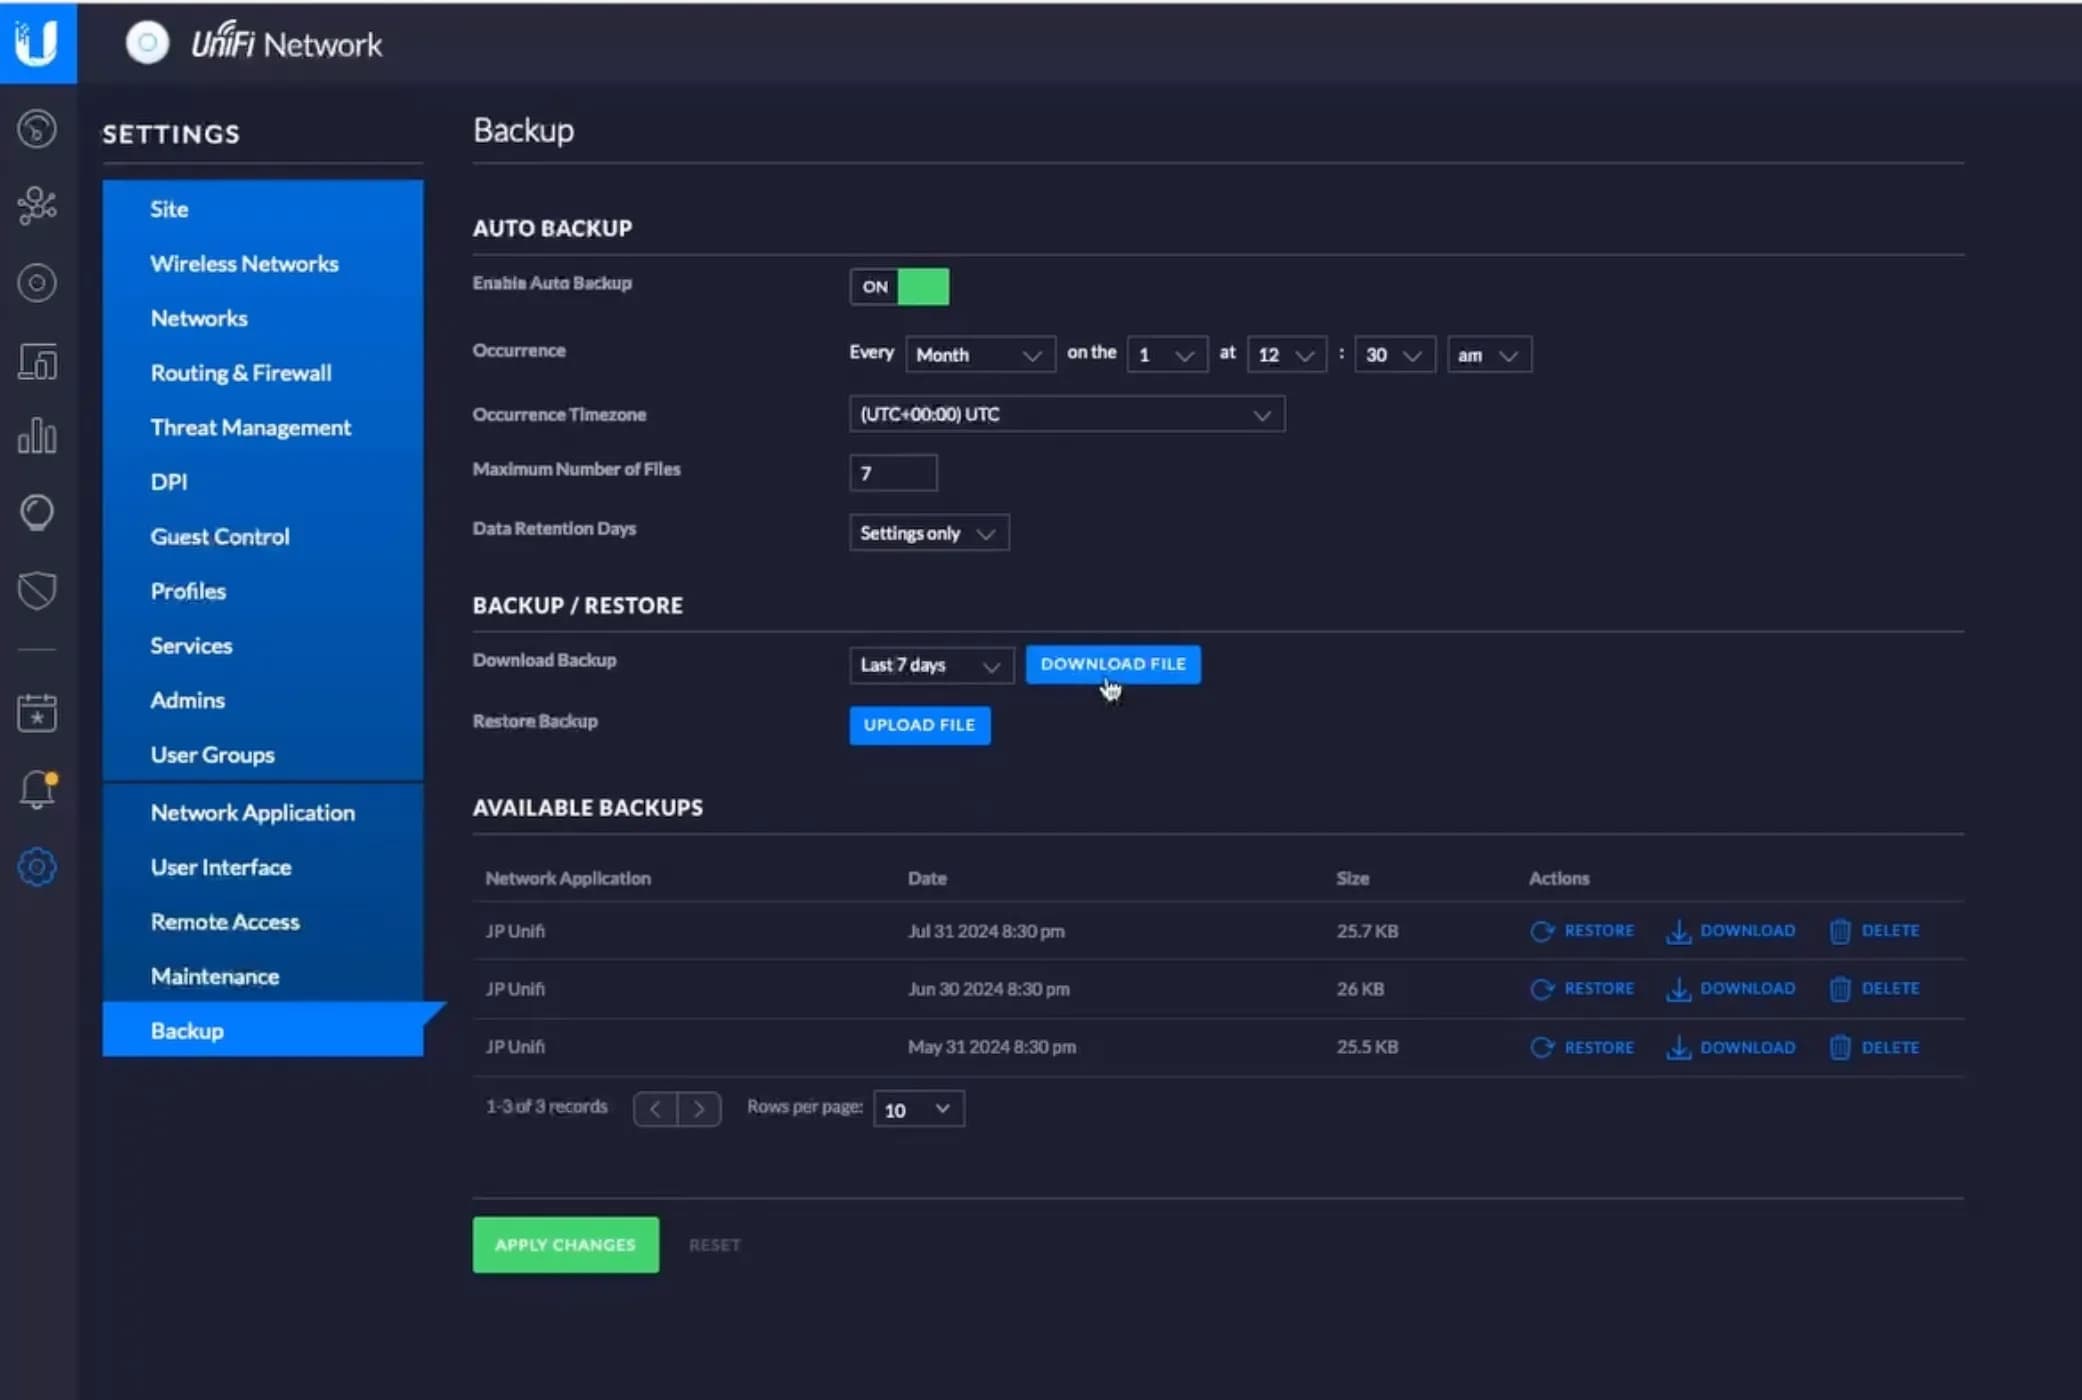
- Note the IP address of your USG (Probably your network’s default gateway) because you’ll need it later
- For me, this was 192.168.1.1
Plug in and Connect the Max/Ultra
- Plug the new Max/Ultra into Power
- Connect the WAN port of the Max/Ultra into an available port on your current network switch
- If you want to set up your Max/Ultra with your UI account, the switch port you connect to will need to have DHCP and a path to the internet
- Connect your computer directly to one of the 4 LAN ports of Max/Ultra
First Time Set Up
- On your computer, open a web browser and navigate to https://192.168.0.1
- Give your device a name and then select Restore From Backup
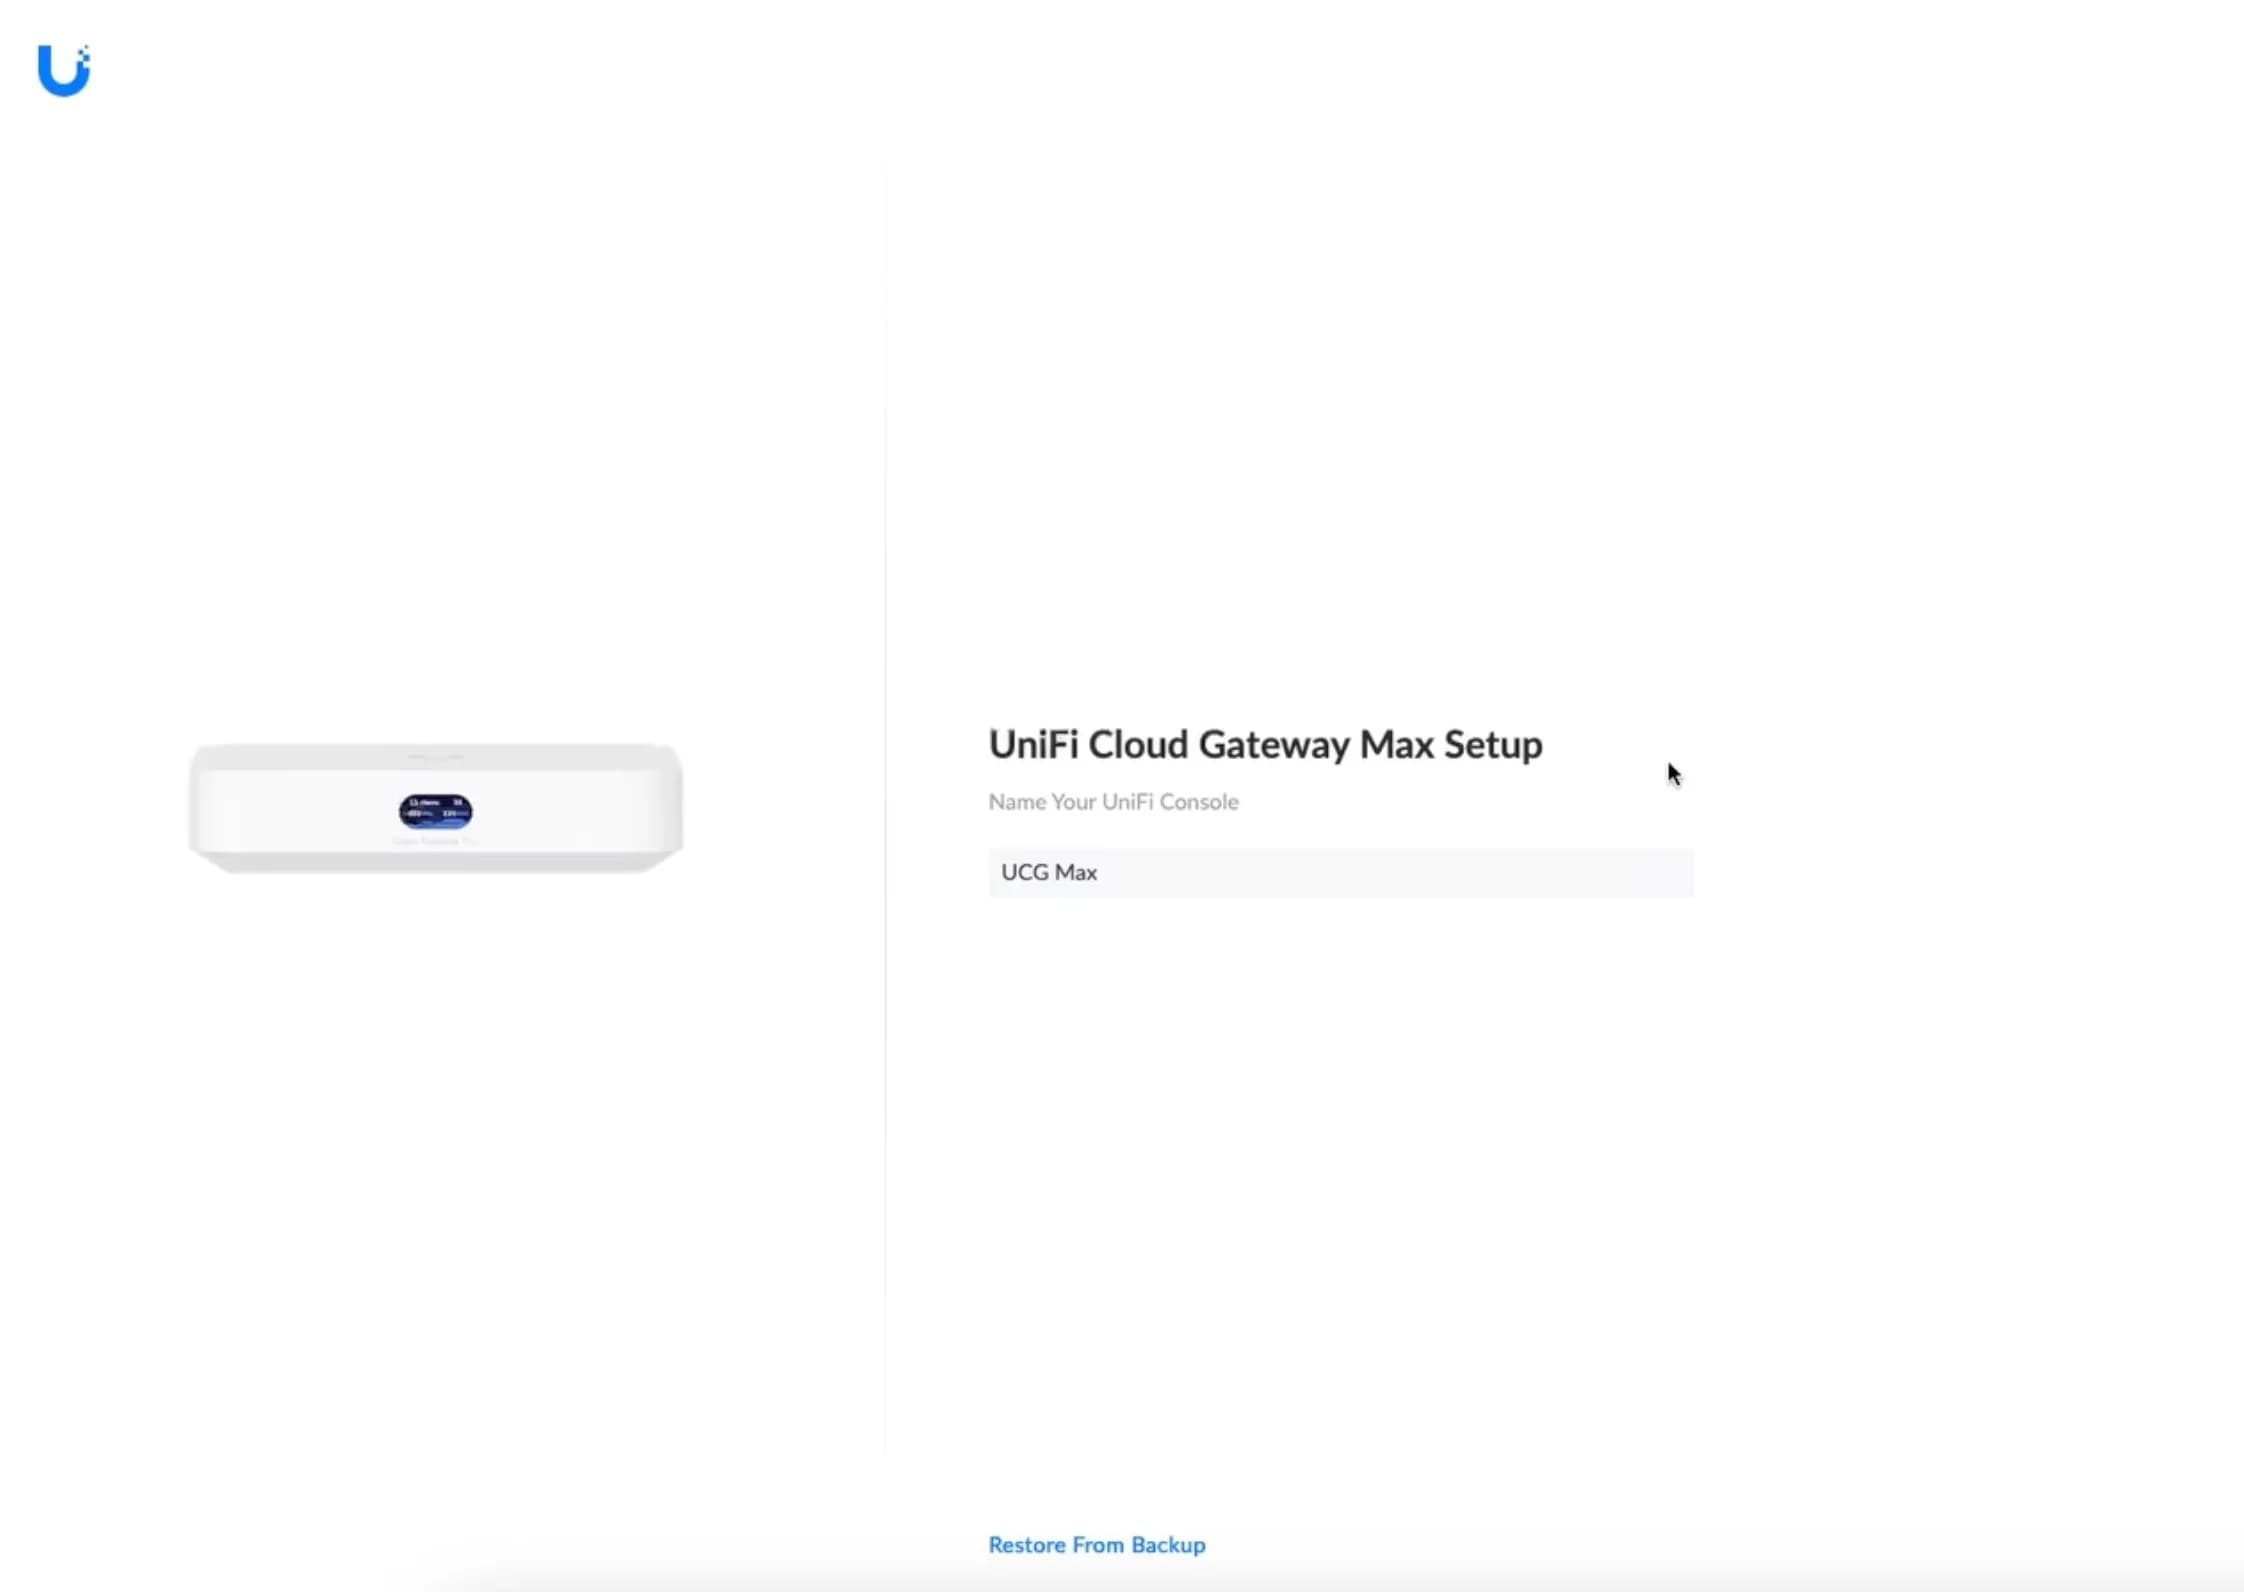
- Follow Login Prompts and Speed tests
- At this Point the Max/Ultra will reboot. Give it some time
- Once your device is back up, navigate back to https://192.168.0.1 and login
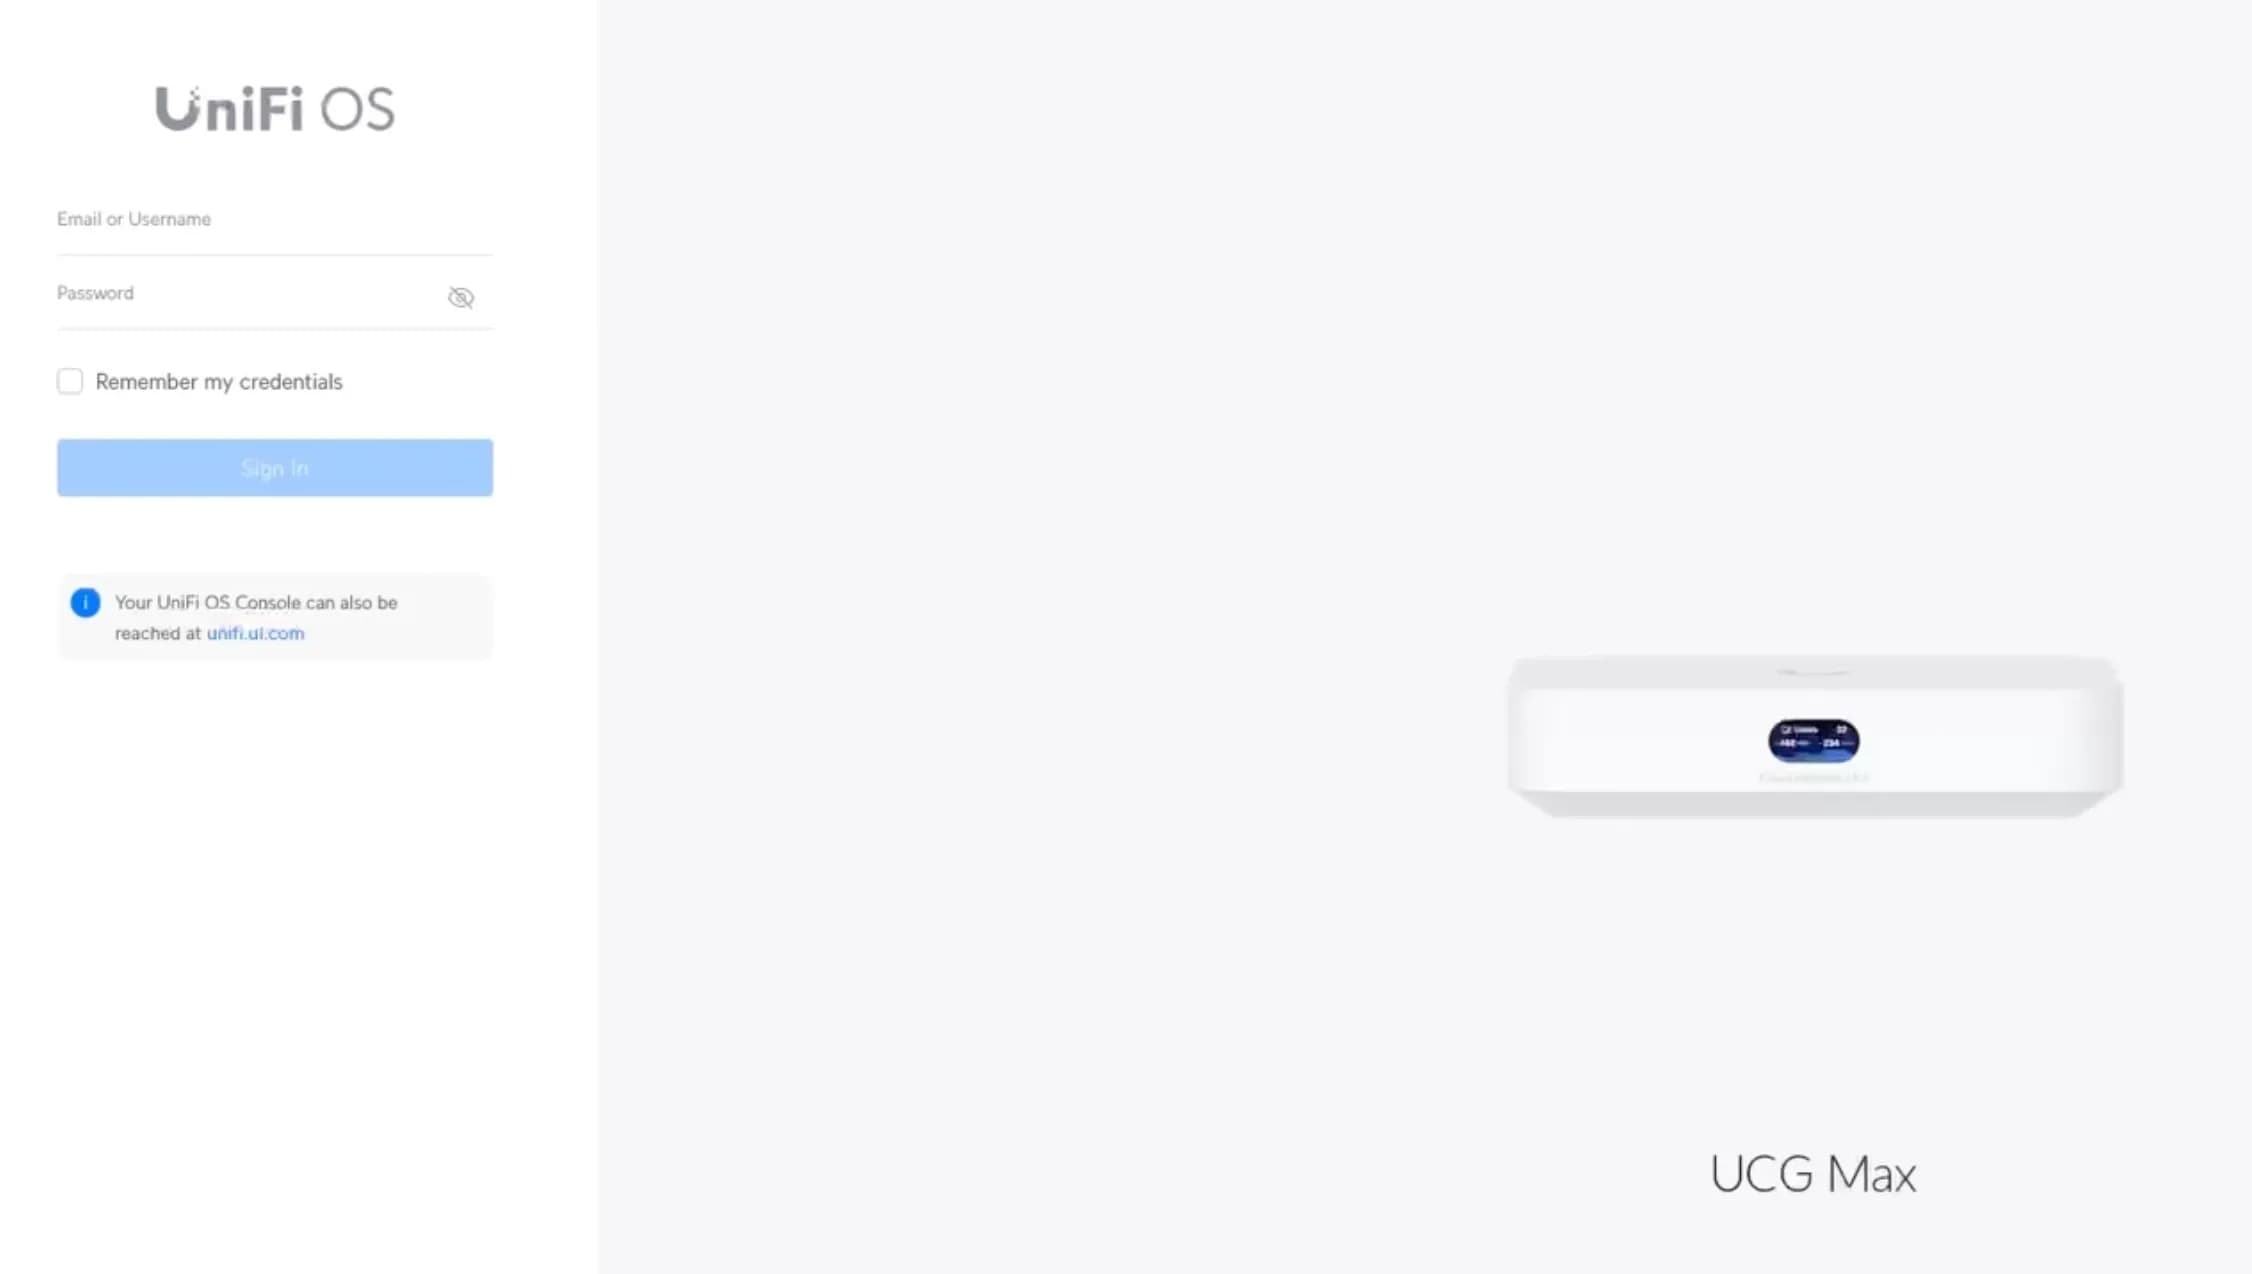
Restore the Backup
- Go to the Network Tab -> System -> Backups -> Restore
- Select your
.unfbackup file you downloaded earlier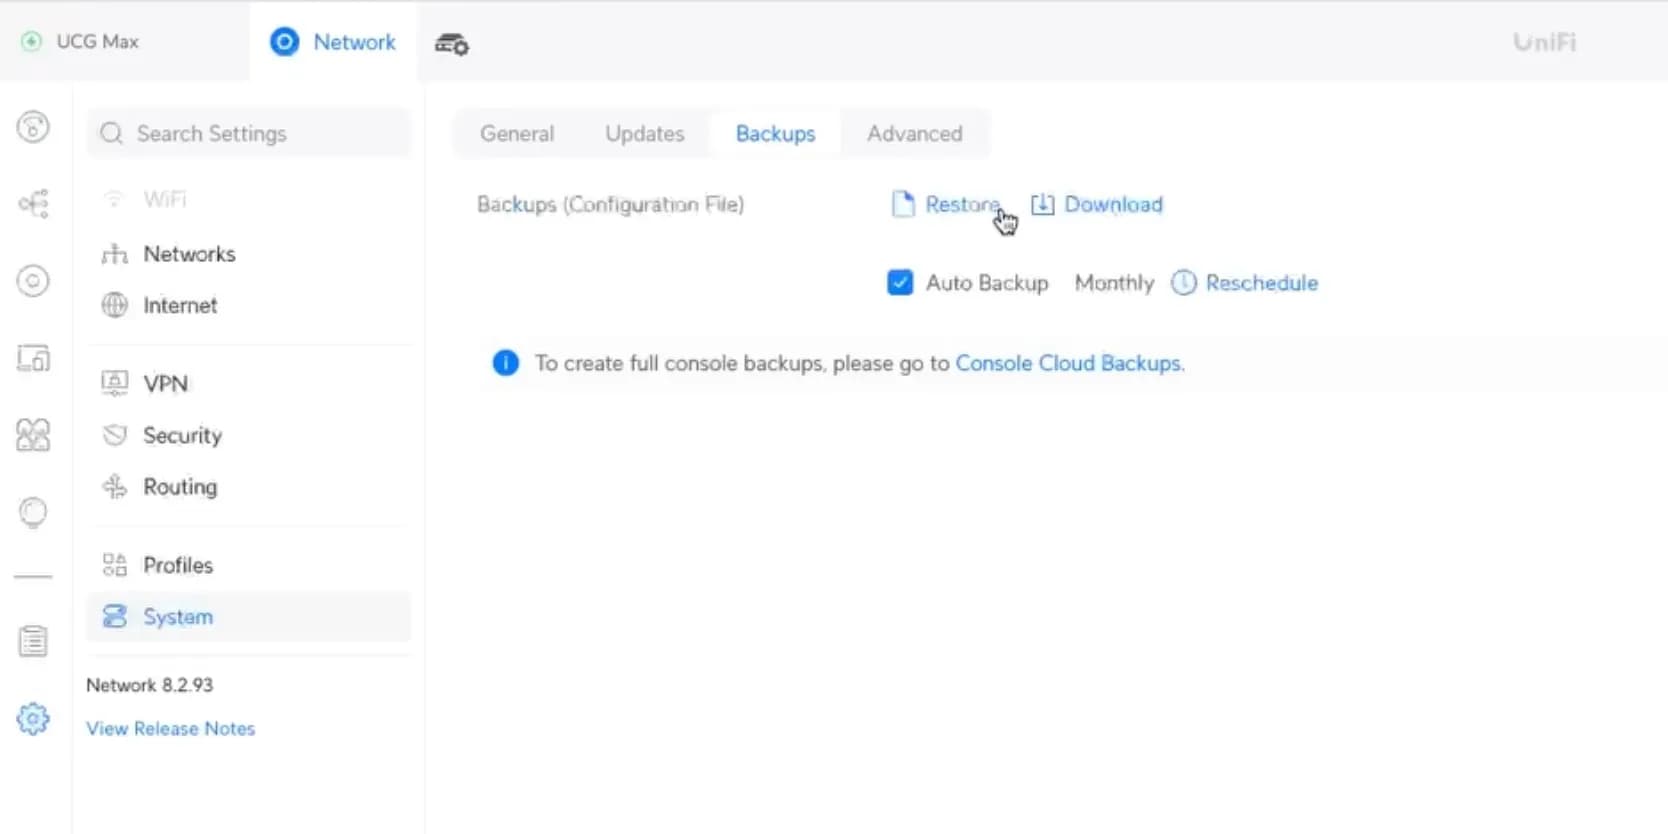
- Wait patiently as the restoration takes place. I think mine took like 10-20 minutes.
- When the restoration is finished, your Max/Ultra will have the settings of your old USG. This means your network is probably down at this point. Don’t panic… This is actually a good sign.
Swap out the USG for the Max/Ultra
- Unplug your old USG, being sure to take note of which cables were where :)
- Unplug the Max/Ultra and swap it in place of where you just removed the USG
- If your USG was plugged directly into your modem like mine was, you’ll want to power cycle that as well to get a new IP from your ISP
- Give it a few minutes to boot… A perfect time to say a quick prayer to the homelab gods ;)
Verify it worked
- Connect your computer back to your home network via ethernet, WiFi or however you did it originally.
- In a web browser, go to https://YOU-OLD-USG-IP-HERE
- My original USG was reachable at https://192.168.1.1 but this is obviously dependent on how you had your original network configured
- If all is well, you should be greeted with the Login page for your new Max/Ultra. You can login with either your UI account or a local account you had configured previously on your USG that was brought over during the restoration
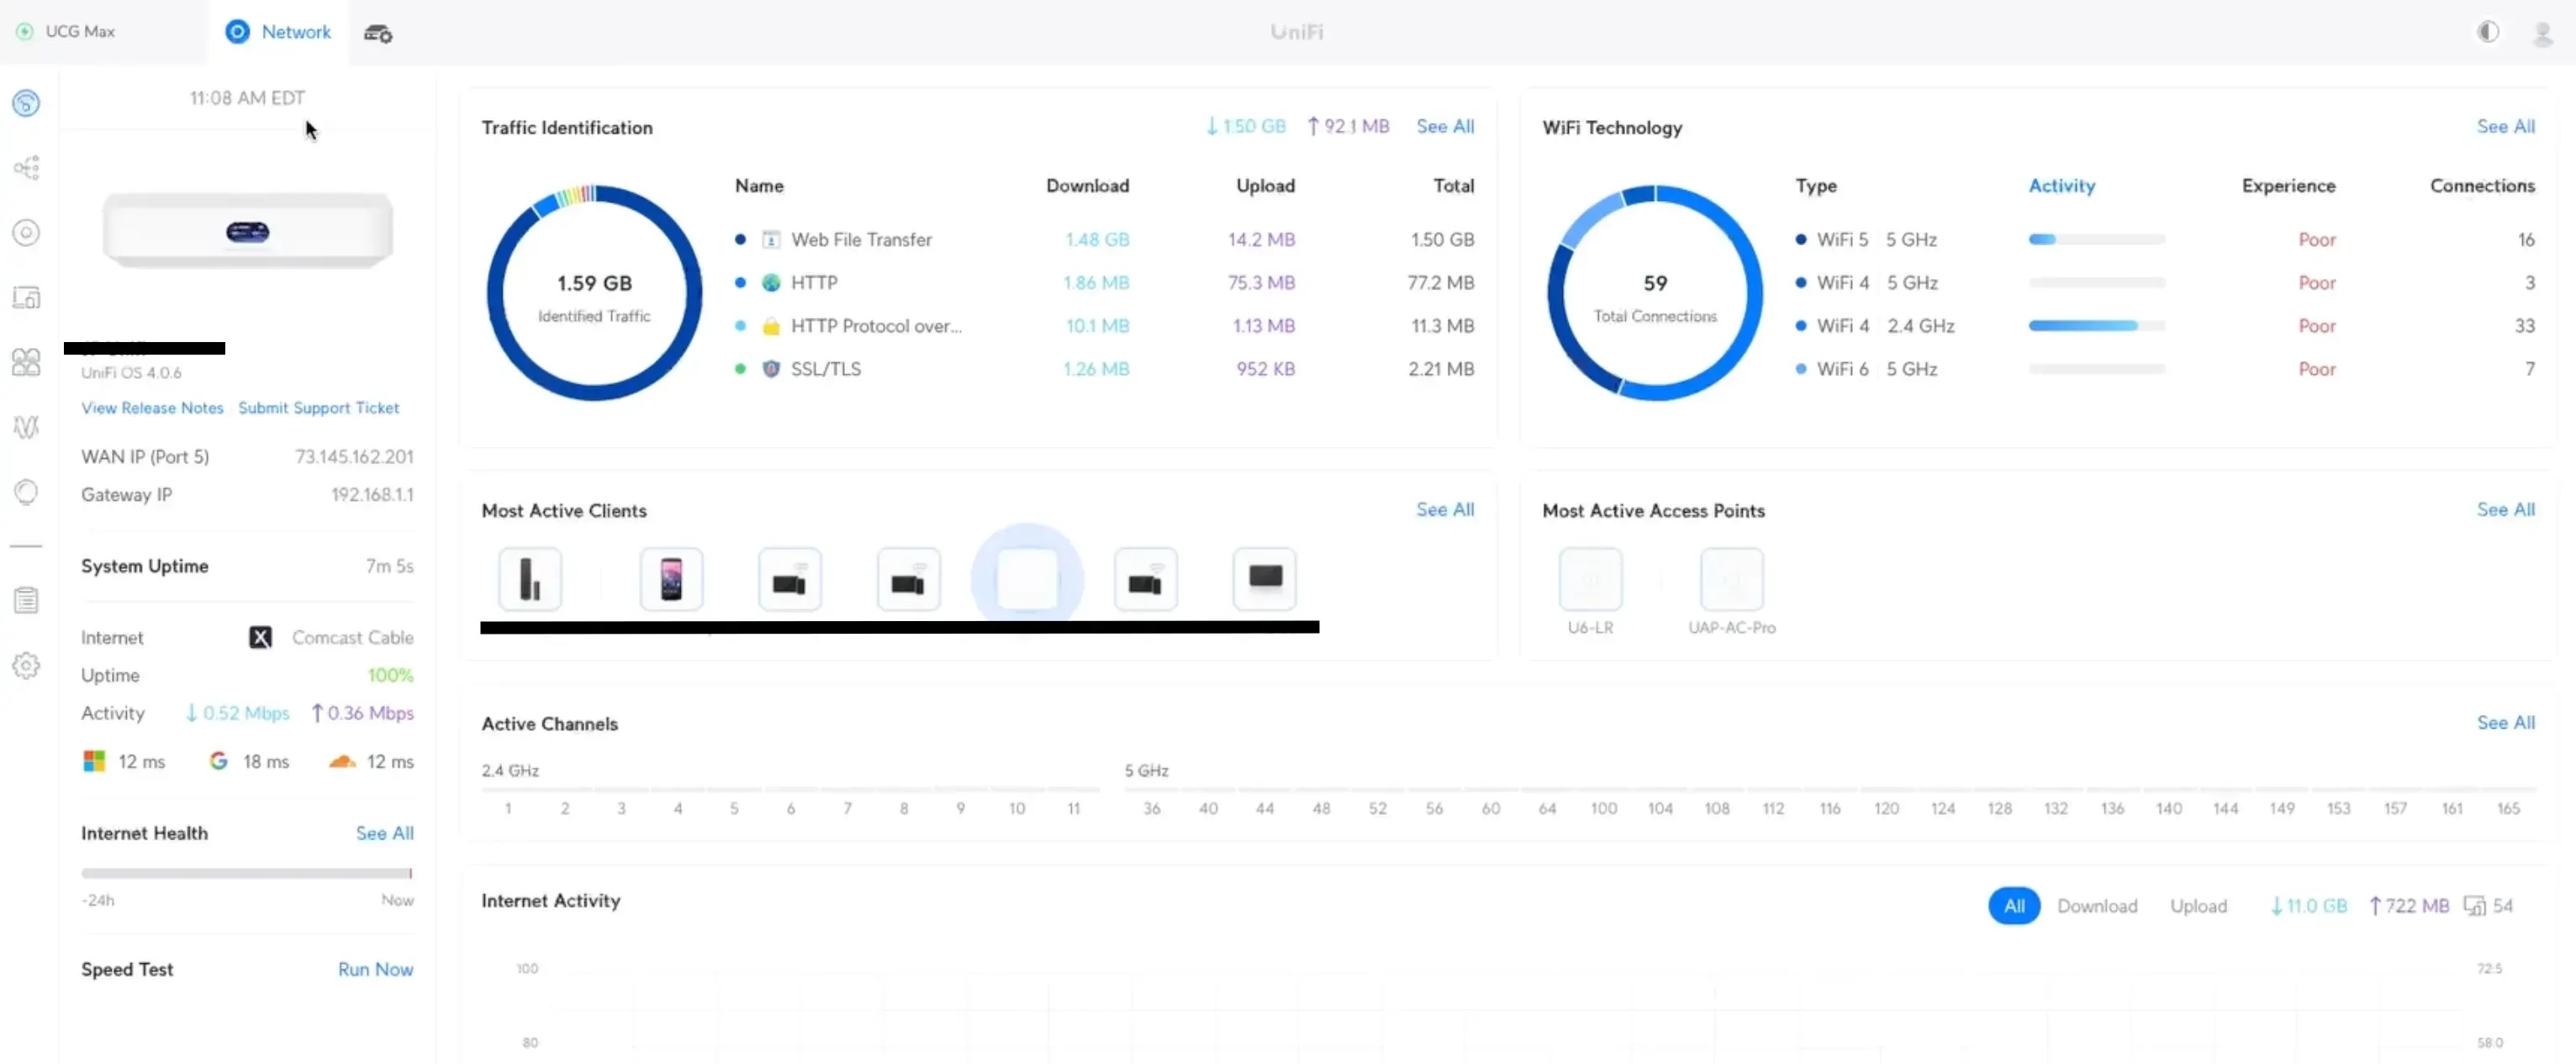
- Power down your old controller software
- Verify that your APs/Switches/Cameras/etc begin to populate in your new Max/Ultra interface. For me, my switch showed up as connected right away, but my two APs took like 15 minutes.
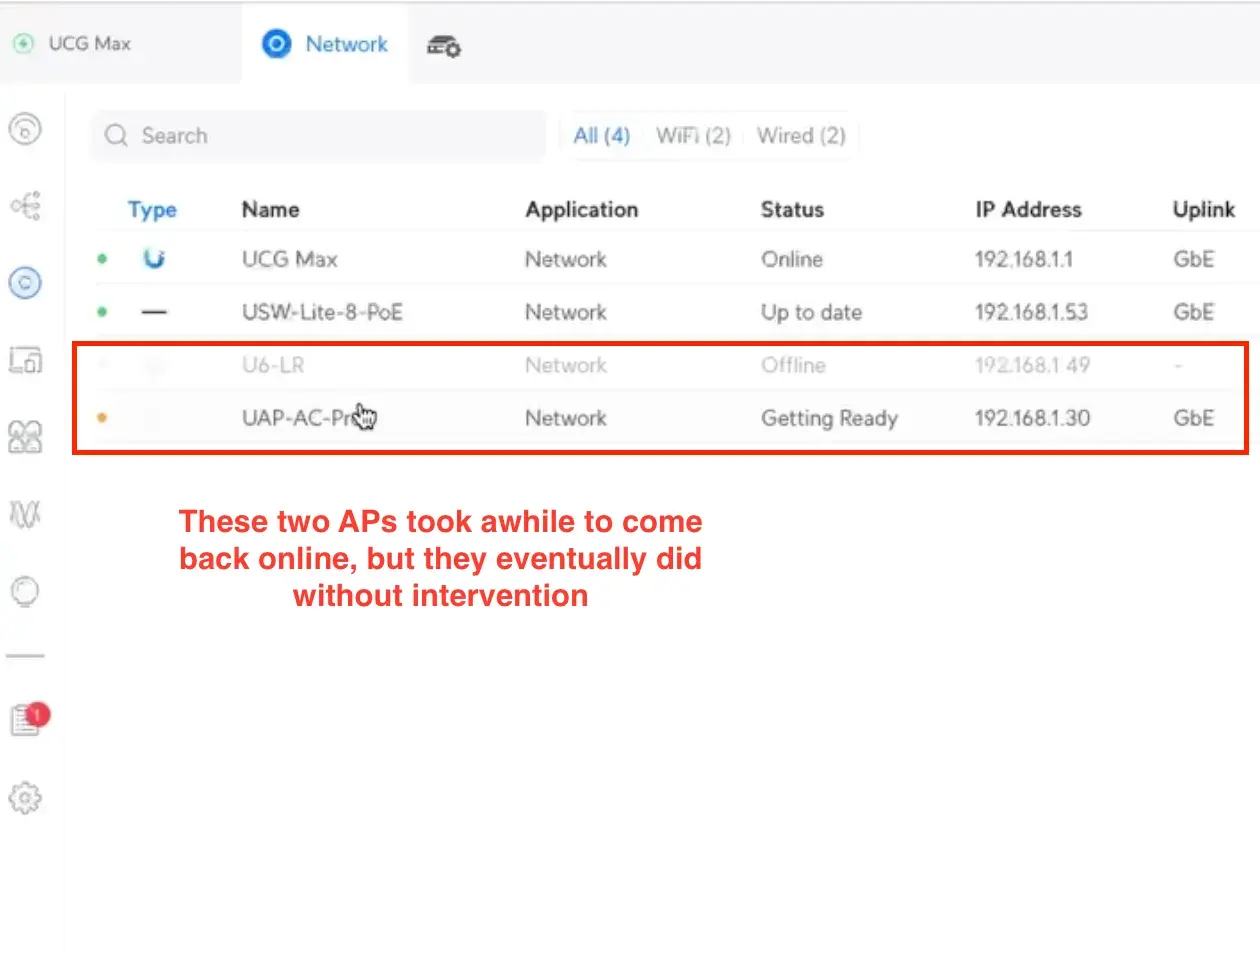
- Hooray you did it!