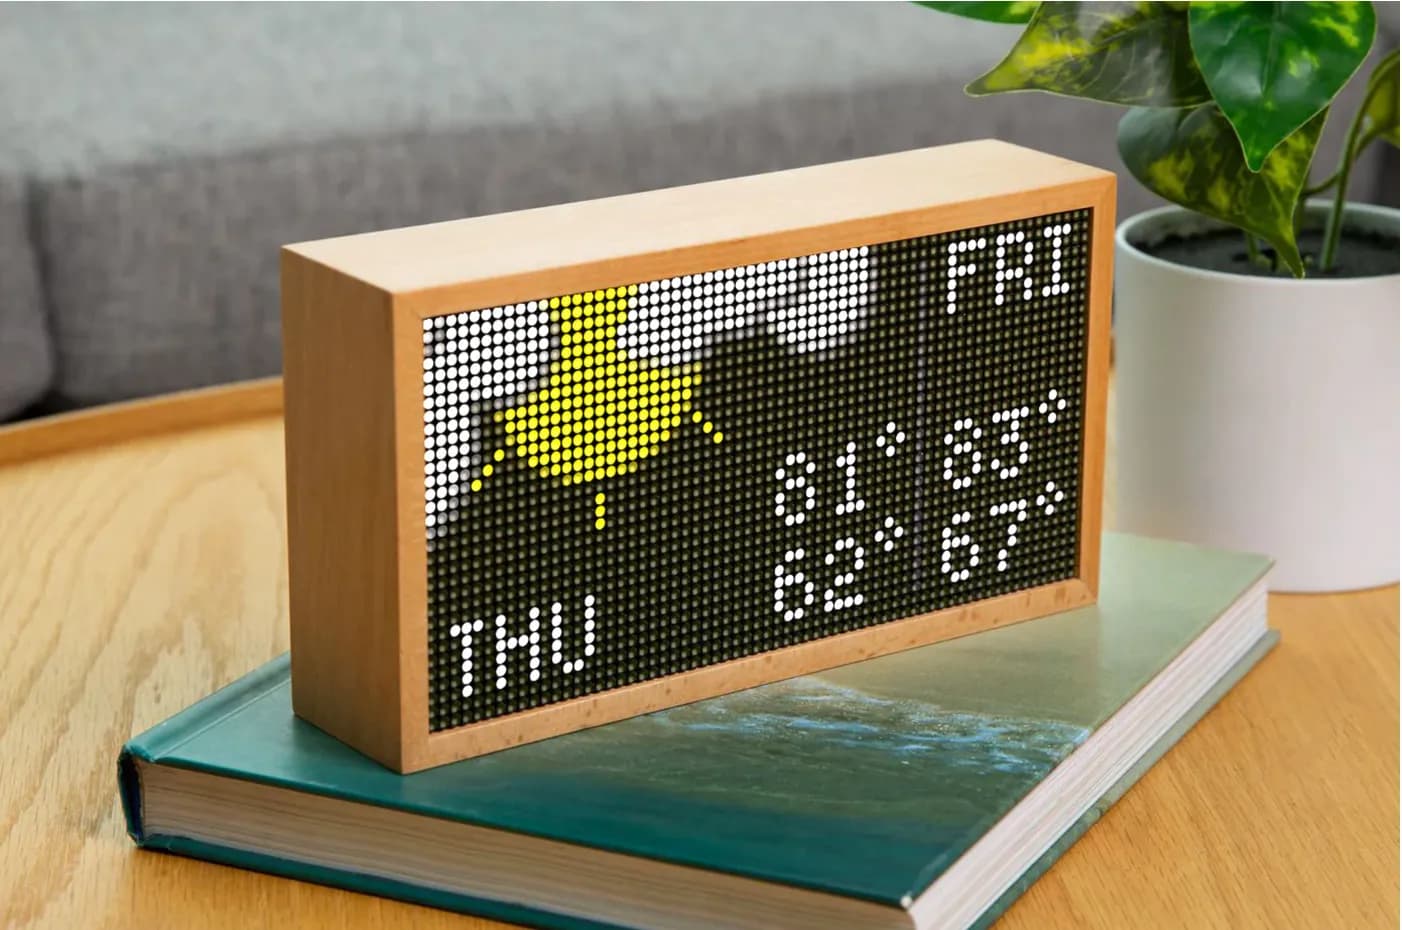
 source: tidbyt.com
A little over a year ago I purchased a Tidbyt because I loved its vibe and how it accompanied my taste of both modern and retro with the all important geekyness sprinkled in.
Since the initial purchase, I’ve been hard pressed to come up with an idea of my own that I could turn into an app for the platform, but this was recently alleviated when I stumbled across this post.
The discussion surrounds the possibility of using the Tidyt to display flight tracker data for planes flying overhead. I found this idea so alluring and wondered how I could do something similar given my geographic location.
Introducing the Tidbyt Train Tracker!
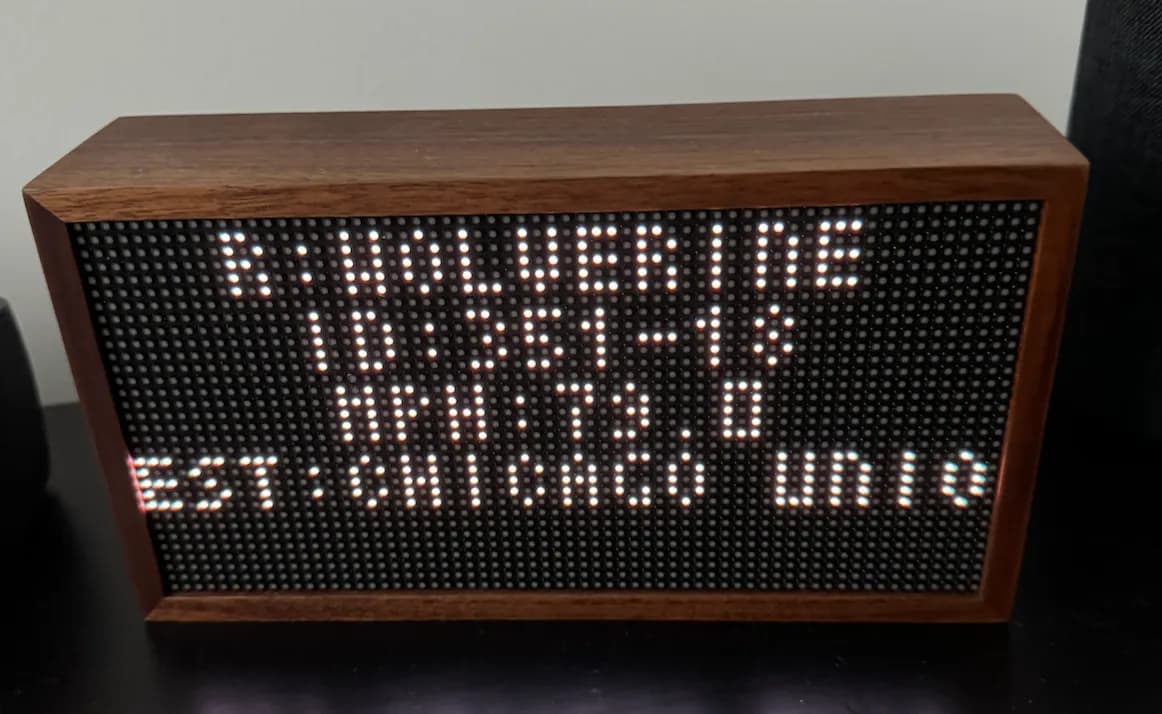
Yes, this post will detail how I went about creating a local Tidbyt App that displays cool information about an Amtrak line that runs near to my home. Let’s get started!
Table of Contents
Open Table of Contents
Creating a Local Trains API
The first thing I had to do was figure out if Amtrak train data was available via a public API. The short answer was Not officially, but an amazing individual (here) did the dirty work for us!
I believe they’re scraping the Amtrak website for the current route data and then turning around and making that data available to us via a nice and easy to use RESTful api. Thanks! :)
Many many hours later I was able to produce a Python script that queries the piemadd api to determine if a train was headed in the direction of my home.
I then turned this script and its results into a local api of my own using Flask. My custom flask-built API returns the train data as a JSON response in a format that can more easily be consumed by the Tidbyt.
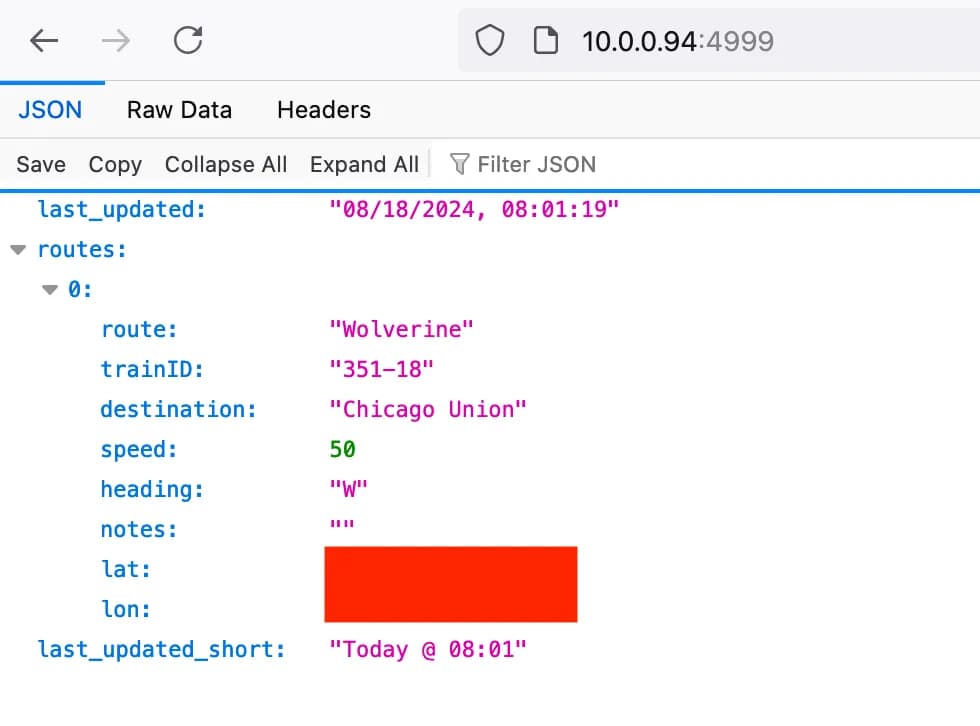
Here is an example response from issuing a GET request to my local API when a train is in my area:
And here’s an example of the API’s response when there is no train. This is important because I want the Tidbyt to essentially have 2 different views. One when there is a train, one when there is not.
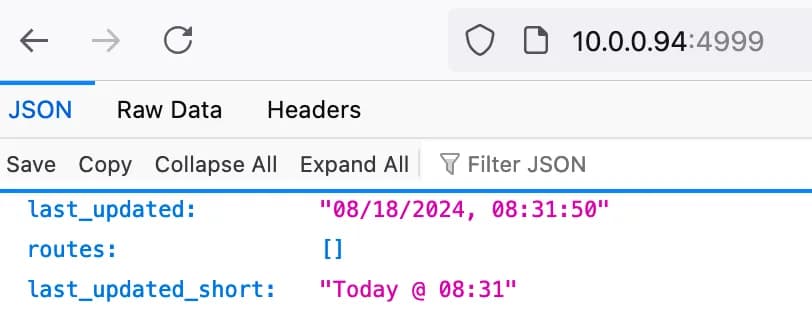
Excellent! Now my Tidbyt has an endpoint to communicate with.
Installing and Using Pixlet
Pixlet is the official executable provided by the folks over at https://tidbyt.dev for the purposes of developing an app for the Tidbyt
Its a CLI tool that provides a plethora of useful features but most notably:
- It runs a simulated Tidbyt device in your browser so you can view how your Tidbyt Script will be rendered on the actual device
- It renders your STAR script into a webP image (more on this below)
- It can publish your rendered webP image to your Tidbyt Device
- Since I’m on MacOS, installing pixlet was simple:
brew install tidbyt/tidbyt/pixlet`
- Create a new pixlet app using:
pixlet create
- Start the pixlet webserver using:
pixlet serve trains.star
- Now on
http://localhost:8080, I have a basic Hello World script displayed in my browser!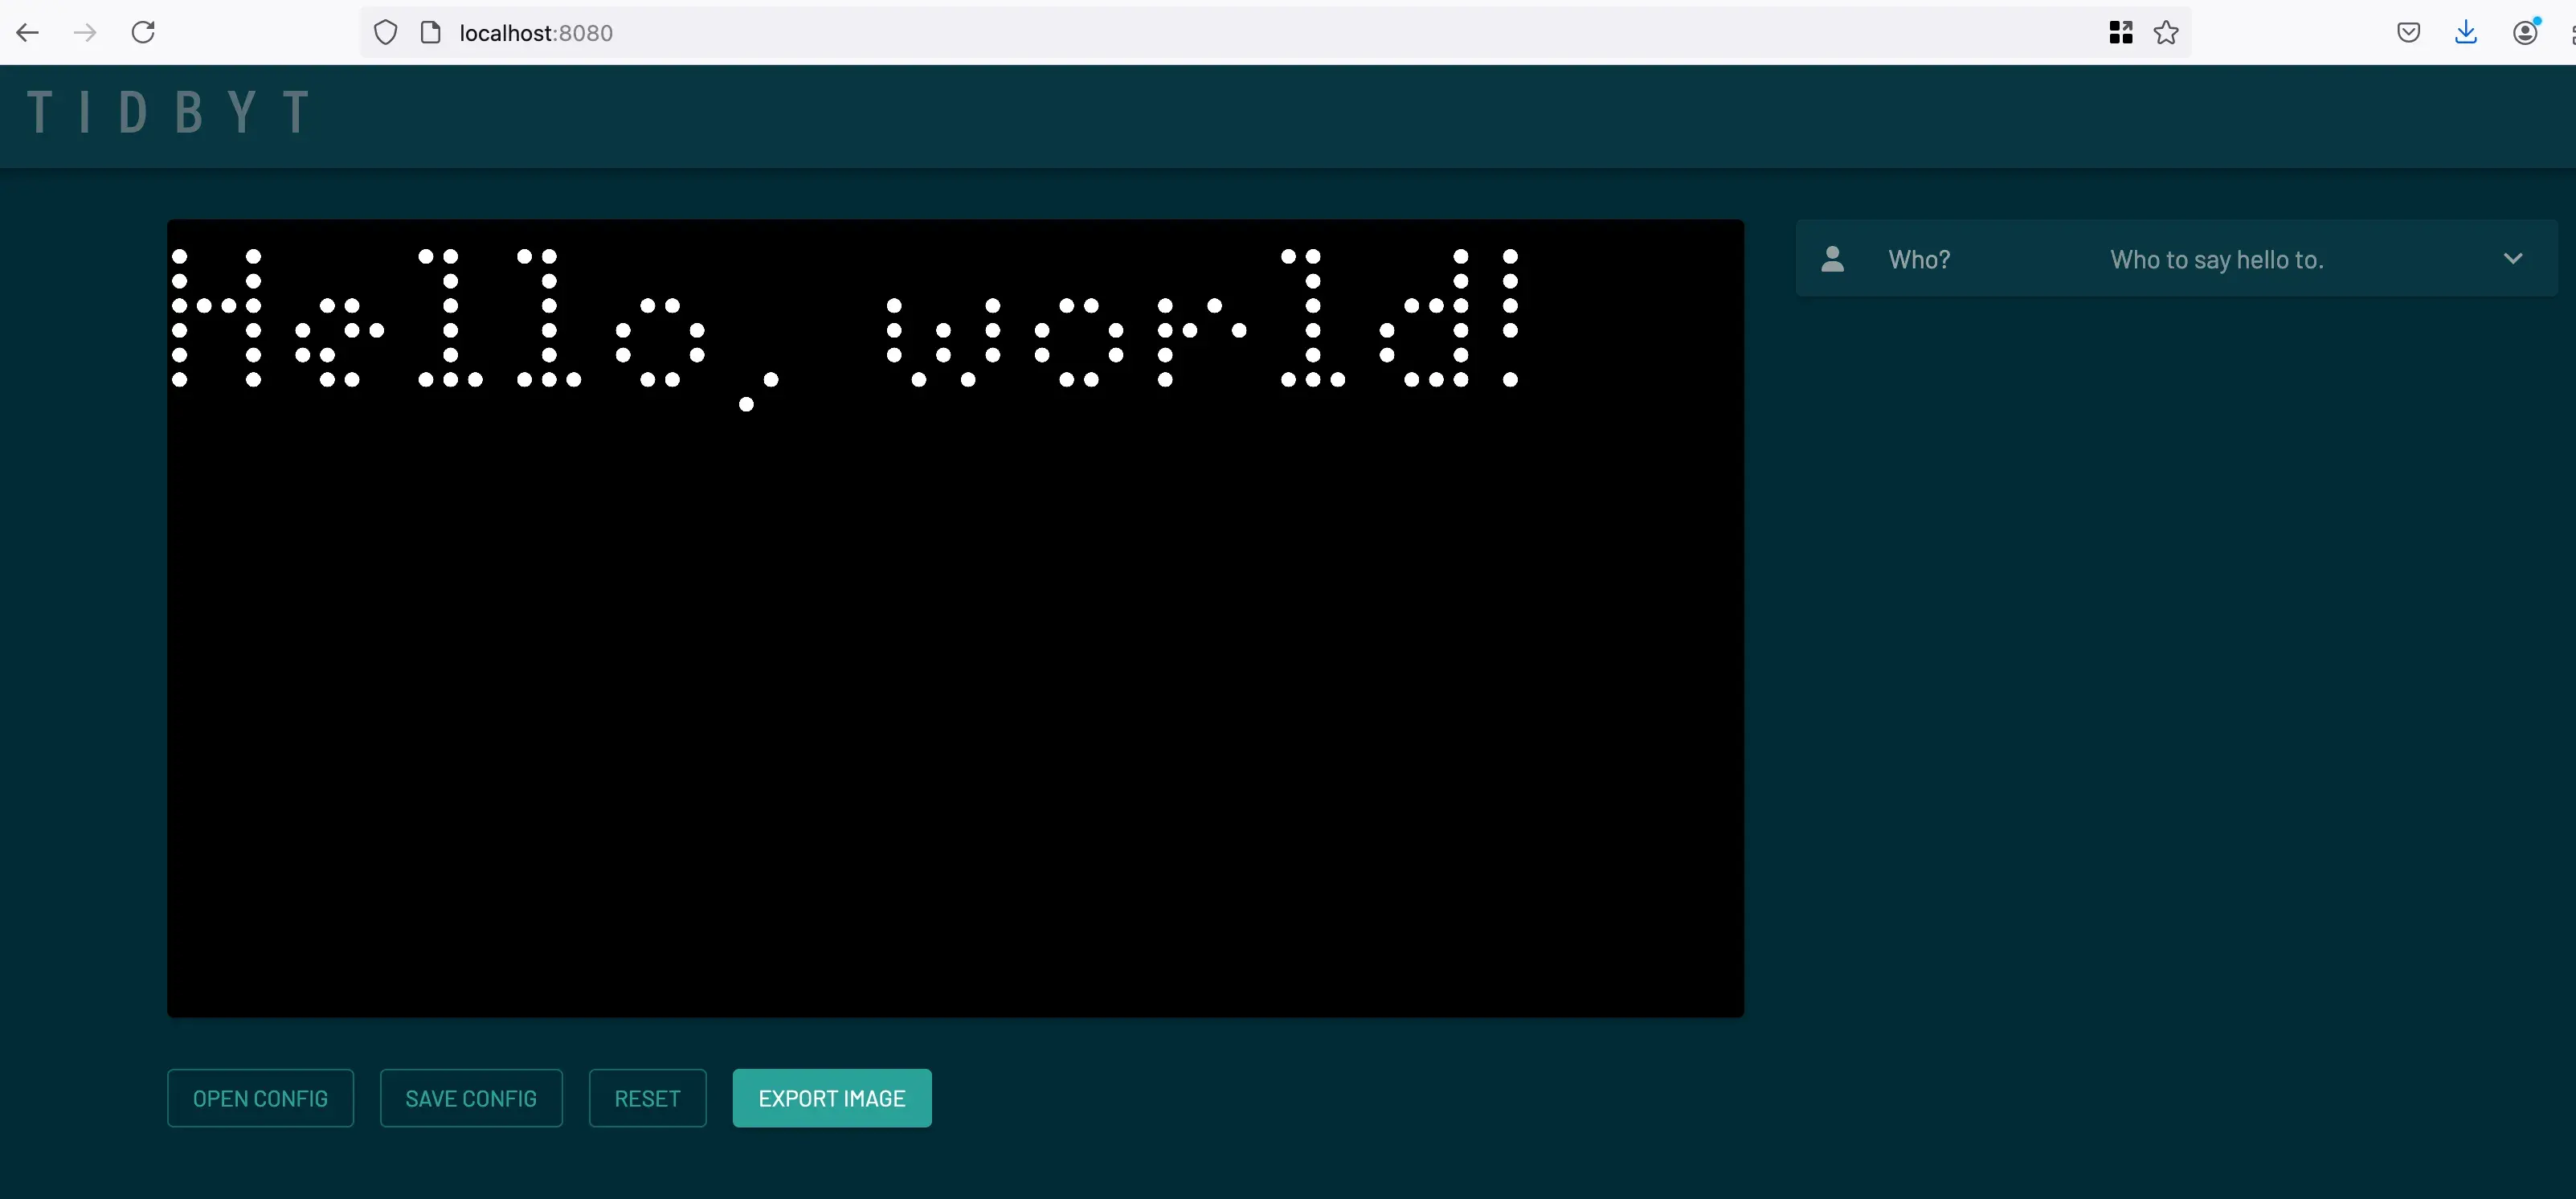
Creating a STAR script
Tidbyt apps are written in a language called Starlark. I’d never encountered this language before working with the Tidbyt, but its close enough to Python (my bread and butter) that it wasn’t too difficult to pick up.
You can import a handful of Starlib modules into your star script and lucky for me, they had an HTTP module I could use to pull the Train data from my API. More on the various modules available here: https://tidbyt.dev/docs/reference/modules
I based most of my code off of Tidbyt’s own Cypto-Tracker tutorial/example but, Here’s my final Trains.star script in all of its uncommented glory:
load("render.star", "render")
load("http.star", "http")

TRAINS_URL = "http://trainapi:5000"

def main():
    res = http.get(TRAINS_URL, ttl_seconds = 60)
    if res.status_code != 200:
        fail("Train API request failed with status %d", res.status_code)

    #mainFont = "CG-pixel-4x5-mono"
    mainFont = "CG-pixel-3x5-mono"
    last_updated = res.json()["last_updated_short"]

    if res.json()["routes"]:
        route_name = res.json()["routes"][0]["route"]
        train_id = res.json()["routes"][0]["trainID"]
        destination = res.json()["routes"][0]["destination"]
        speed = res.json()["routes"][0]["speed"]
        notes = res.json()["routes"][0]["notes"]


        return render.Root(
            render.Column(
                children=[
                    render.Box(width=64, height=6, child = render.Text("R:%s" % route_name, font=mainFont)),
                    render.Box(width=64, height=6, child = render.Text("ID:%s" % train_id,font=mainFont)),
                    render.Box(width=64, height=6, child = render.Text("MPH:%s" % speed, font=mainFont)),
                    render.Box(width=64, height=6, child = render.Text("Dest:%s" % destination, font=mainFont)),
                    render.Box(width=64, height=6, child = render.Marquee(width=64, height=6, child= render.Text(content=notes, font=mainFont)))
                ]
            )
        )
    else:
        return render.Root(
            render.Column(
                main_align = "center",
                cross_align = "center",
                expanded = True,
                children=[
                    render.Box(width=64, height=6, child = render.Text("No Trains")),
                    render.Box(width=64, height=6, child = render.Text(" ",font=mainFont)),
                    render.Box(width=64, height=6, child = render.Text("Updated:")),
                    render.Box(width=64, height=6, child = render.Text("%s" % last_updated,font=mainFont))
                ]
            )
        )
The most difficult part was learning how to actually put the pixels on the Tidbyt’s screen using the Widgets from the render module.
Thank goodness for the pixlet serve command. I must have made a thousand changes to this script and it was thoroughly enjoyable being able to jump back and forth to the web browser to see how the display changed.
Rendering and Pushing to Tidbyt
With a working Star script, the next step was to push the app to the Tidbyt in my living room.
DISCLAIMER: Intuitively, I thought I would be deploying my
trains.starscript to the Tidbyt and then the Tidbyt itself would run the script to render the display… Nope. Doesn’t work that way. Essentially you have to use Pixlet to render a webP image, and then you yourself push that image to the Tidbyt.So if I have to render and push the image myself, does that mean I would need to do that every time my API returns different results?
Yes. Hence my next section on Automating this. With that being said, if you actually publish your app, you don’t have to do this, but I wanted this just to run locally.
So with that disclaimer out of the way, here’s what I did:
- Use Pixlet and the star script to render the webP image
pixlet render chelsea_trains.star
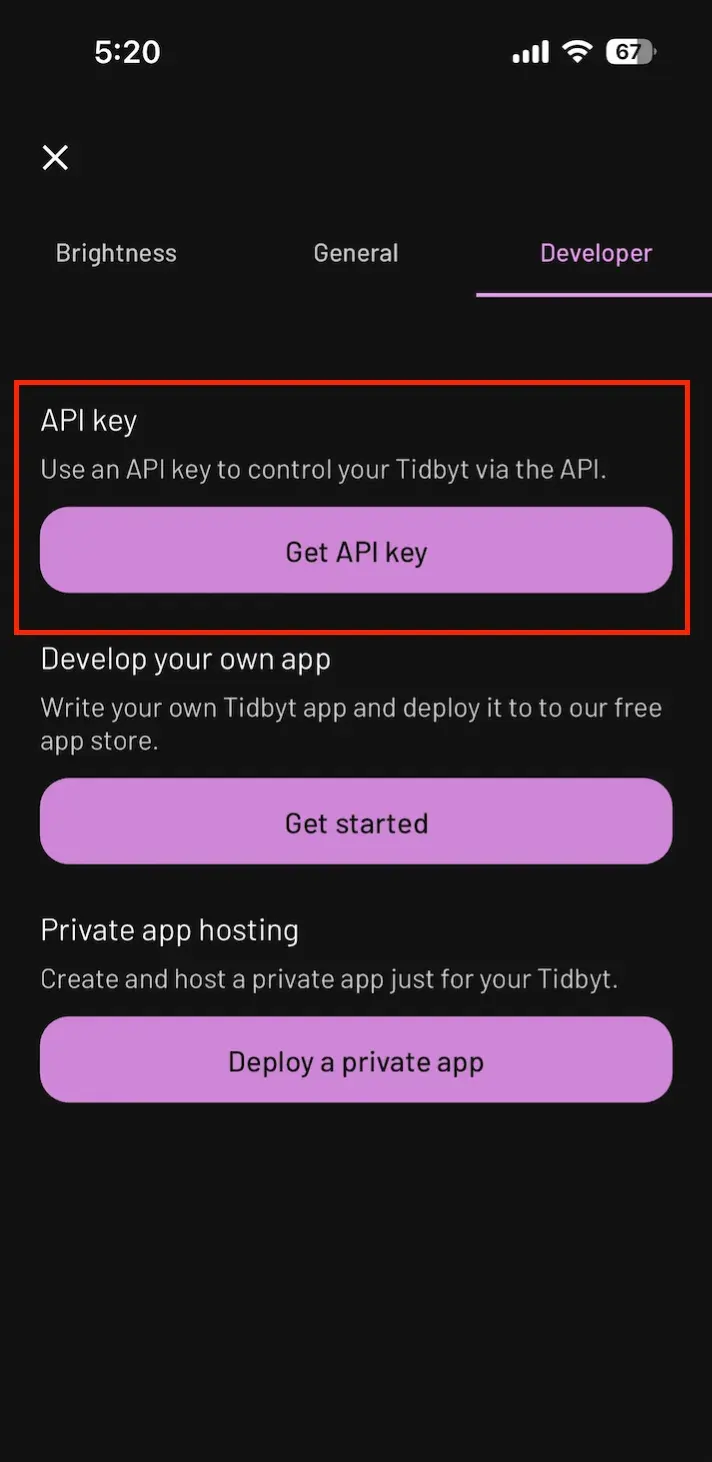
- Obtain my Tidbit Device ID and API Key from the Tidbyt app on my phone
- Push the webP image to my Tidbyt
pixlet push --installation-id trains $PIXLET_DEVICE_ID --api-token $PIXLET_DEVICE_SECRET trains.webp
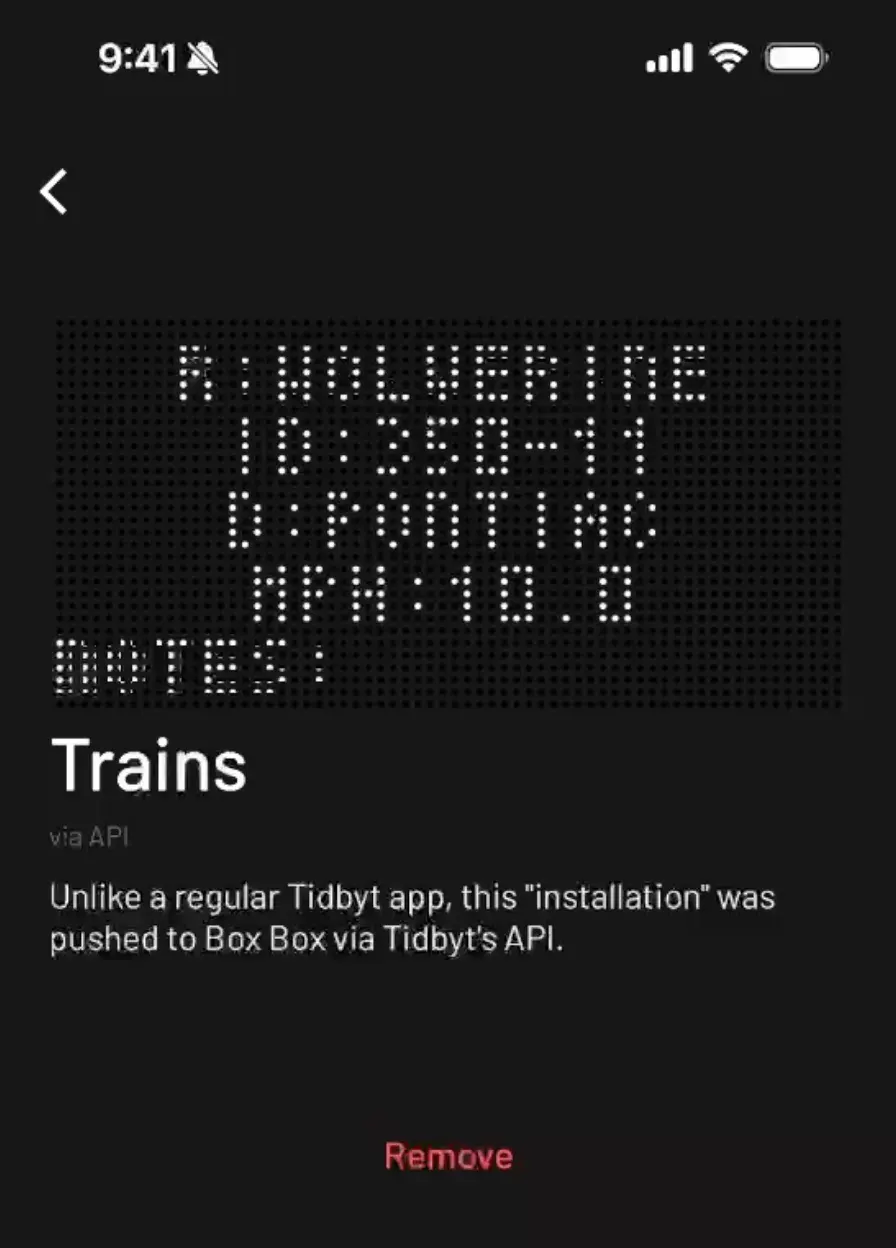
- Verify that it shows up in the Tidbyt phone app and pin it so it shows up on my living room Tidbyt
Automating the Rendering and Pushing
So obviously running the Pixlet Render and Push commands manually would be ridiculous so I decided to automate this using docker.
# DockerFile

# Use an Alpine base image with sh installed
FROM alpine:latest

# install curl
RUN apk add --no-cache curl

WORKDIR /app

# Copy contents of the pixlet_push directory into the container
COPY . .

# Make the script executable
RUN chmod +x update_pixlet.sh
RUN chmod +X pixlet
RUN chmod +X trains.star

# Set the script as the container's entrypoint
CMD ["./update_pixlet.sh"]
The
pixletfile being copied into the Docker Image is simply the Linux version of Pixlet I downloaded from https://github.com/tidbyt/pixlet/releases
And here’s the update_pixlet.sh referenced by my Dockerfile. It runs the Render and Push commands every 10 minutes so my living room Tidbyt can display accurate information about trains in my area:
#!/bin/sh

#Load the environment variables from .env file
export $(cat .env | xargs)

while true; do
  ./pixlet render trains.star
  ./pixlet push --installation-id trains $PIXLET_DEVICE_ID --api-token $PIXLET_DEVICE_SECRET trains.webp
  sleep 600
done
Final Thoughts
The Tidbyt is an impressive device that comes with nearly every app you could want, thanks to its community.
In this example, I built a local app just for my Tidbyt, but I might develop something worth sharing with the world in the future.
:)